Category Archives: Collage

Artsy Dates

Standard

“My wife’s jealousy is getting ridiculous.  The other day she looked at my calendar and wanted to know who May was.” – Rodney Dangerfield

I’ll admit it, I have a little calendar obsession.  I love looking at them and finding the perfect one to hang for the rest of the year.  Sadly, this year I did not find that perfect one.  So I decided to make one.  Everyone needs a calendar, and it is incredibly easy to make your own, artsy one.

For this art project you will need:

  • 35 Paint chips/samples from any store that has a display (they’re free)
  • Glue stick
  • 16×20 poster frame
  • Paint brush
  • Paint
  • Dry erase makers.

The poster frame comes with paper in it.  You do not have to paint if you want a white background, just flip the paper over.  To paint, take off the sides of the frame and the plastic.  Throw the paper away and simply paint on the back cardboard.  It may take a couple of coats.  The paint chips can be cut out while you wait for it to dry.

The paint chips can be any colors you desire.  I picked ones that were large, with one solid color on them.  Cut the samples down to small squares or rectangles, carefully making each one the same size.  I used the image on the back as a guide.

Lay the colors in the order you want them.  If they do not all fit, you may want to cut them more.  Begin to glue the colors on the paper or cardboard.  Make sure they are placed the right way and will not be hanging upside-down if you’re gluing directly to the cardboard. You can leave spaces between or have them all touching.  Leave room to write the days of the week and the month along the edges.

Once it is all glued, put on the plastic and sides of the frame.  Take your dry erase maker (neon ones are available if you chose a dark color scheme) and write the days of the week and the month.

You now have a DIY calendar that is artsy and decorative!
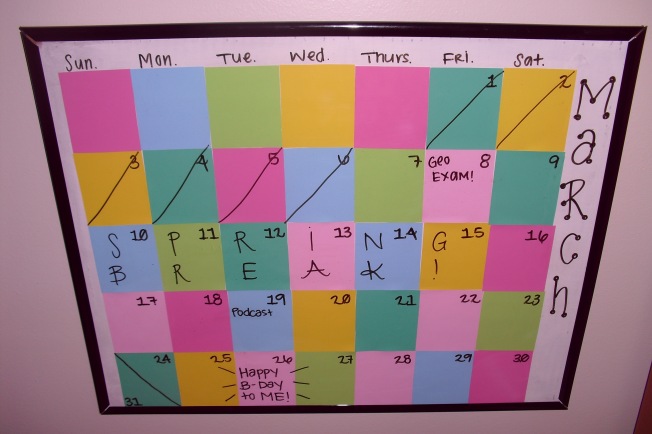
A calendar using paint samples and a poster frame.

A calendar using paint samples and a poster frame.

Go Artsy: Recycle Your Magazines

Standard

“You need to let the little things that would ordinarily bore you suddenly thrill you.” – Andy Warhol

I’m an avid reader of Cosmopolitan and Seventeen magazines. Who reads a magazine more than once? It would be boring, I’m sure.  Instead of having your magazines piled up or thrown away, try making an art collage with them, so they can thrill you again.

For this art project you will need:

• Magazines
• Paper
• Stick Glue
• Scissors
• Markers

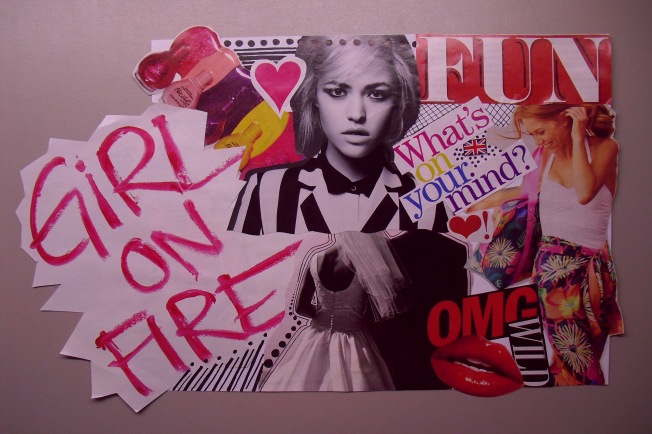
To start, flip through magazines and select images that spark your interest. I like to tear out the whole page at first and cut later. It can be small or large, words, items, or people. More variety makes for a more fascinating composition. Carefully cut out your pieces. Try to cut curvy or zigzag lines around the subject. Lay the sheet of paper down (whatever size you prefer) and arrange your clippings. Try switching it up a few times and use the arrangement you like the best. Overlapping images or letting them hang off of the paper can make your collage have more visual appeal.  Glue your pieces down one at a time. Remember to not totally glue all sides down if you plan to overlap, if you want another piece to slide under a little.  You can use markers to doodle over the images and on spots that may have some paper still showing, if you wish to do so. Dots and lines are simple, but can have a big impact.

Collage using magazine and sharpie markers.

Collage using magazine clippings and sharpie markers.

This project can be done with any type of magazine, for any interest you have.  Create a collage to inspire you, foods you like, sports, fashion, celebrities, music instruments, the sky is the limit.